
Hey future pilots, a cross-country flight starts long before the engine turns. You need a route you can follow, weather you can accept, fuel you can trust, and a backup plan for change. The FAA lists many preflight checks, yet fewer than half of checklist entries name the tools needed to complete them. Use these steps to build a plan you can actually fly.
Step 1: Define the Trip, Select a Route, and Mark Checkpoints
Start your cross country flight planning by defining the trip in plain terms: departure airport, destination, aircraft, pilot, passengers, date, and expected time of departure. For private pilot training, a cross-country flight usually means a flight to a point more than 50 nautical miles from the original departure point, but your instructor will confirm the exact training requirement.
Open the correct VFR sectional chart for the route. Mark both airports, then draw the shortest direct line between them. A straight line gives you a clean starting point. Change it only when airspace, terrain, restricted areas, special use airspace, a TFR, or weather makes the direct path a poor choice.
Next, study the route at a useful scale. Look for Class B, C, D, and E airspace. Check the floor of each shelf. Note MOAs, prohibited areas, restricted areas, military training routes, towers, and high terrain. A route that looks simple on the chart may cross several problems near the surface.
Pick visual checkpoints along each leg. Aim for a landmark about every 10 to 20 nautical miles, or more often when the terrain is busy. Good checkpoints have a shape you can spot from the air, such as a large lake, a highway bridge, a town, a rail line, or an airport. Put them slightly off the nose when possible. A landmark beside the aircraft is easier to see than one directly below it.
Keep checkpoints on the planned course line. A long series of small zigzags adds work to the log and makes heading changes harder to track. If a checkpoint sits off the route, mark the offset and account for the extra distance.
Use airport data cards for both ends of the trip. Write down runway directions, runway lengths, field elevation, pattern information, CTAF or tower frequency, services, and any special notes. Confirm each item with current airport information rather than memory.
At Axiom Aviation, we treat route work as a flying skill, not a paperwork task. Our instructors help future aviation professionals read the chart, spot airspace traps, and explain why a route change makes sense.
For a broader look at the training path, our Private Pilot License in Utah step-by-step guide connects navigation lessons with the rest of the PPL process.
By now you should have a direct route, a reason for every route change, marked checkpoints, and airport notes you can use in the cockpit.
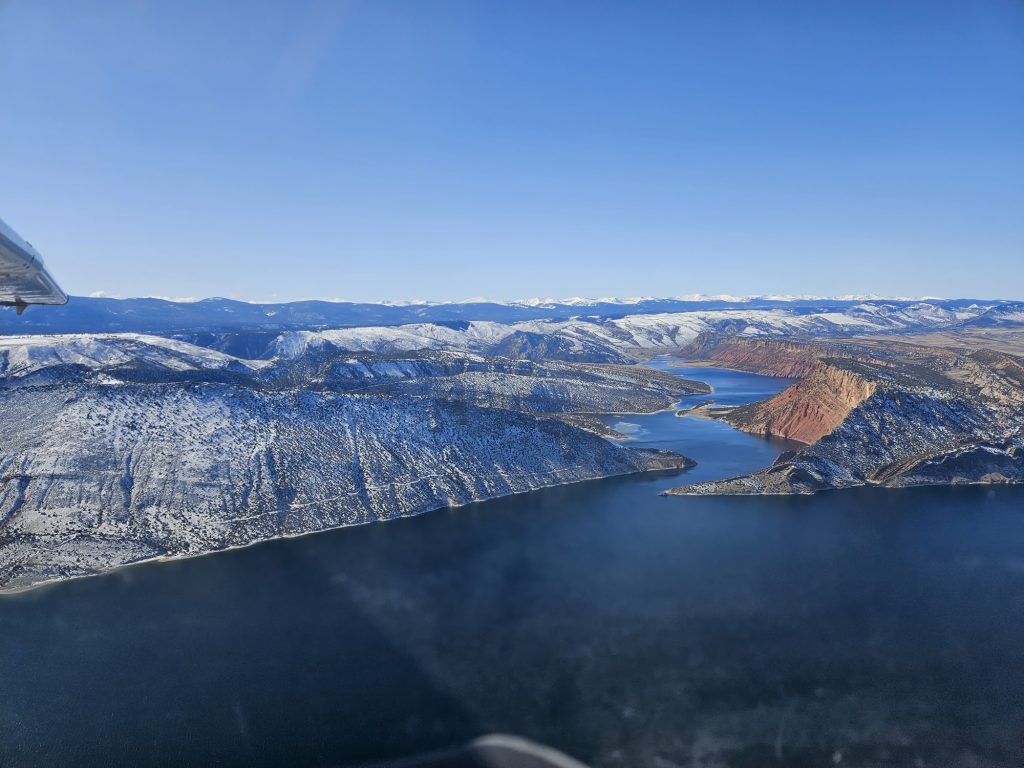
One rule is worth keeping: never let a convenient destination force you through airspace you haven’t fully understood.
Step 2: Complete a Weather Briefing and Set Personal Minimums
Good cross country flight planning uses weather for the whole route, not just the two airports. The pilot must become familiar with available weather reports and forecasts before flight.
Start with current conditions. Read the METAR at departure, destination, and nearby airports along the route. A METAR is an observation of current airport weather. Check wind direction, wind speed, gusts, visibility, cloud bases, temperature, dew point, and altimeter setting.
Then read the TAF where one is available. A TAF is a forecast for an airport. Pay close attention to the time window that covers your arrival. A forecast that looks fine at takeoff may turn poor before you reach the destination.
Look at the big picture next. Review radar for storm movement, satellite images for cloud cover, and winds aloft for the cruise altitude. Winds aloft affect both ground speed and fuel use. A headwind can turn a comfortable fuel plan into a tight one.
Weather planning also includes NOTAMs. A NOTAM can report a closed runway, a lighting outage, a navaid change, or a temporary restriction. Check TFRs before you draw the final route. TFRs can change, so use current information on the day of flight. Official weather guidance can add context to local reports and forecasts.
Set personal minimums before the briefing starts. These are your own limits, not the legal minimums. Write down limits for visibility, ceiling, crosswind, gust spread, temperature, turbulence, and storm distance. A student pilot may set higher limits than the regulations require. That’s wise, especially on a first long trip.
Use a simple go, delay, or cancel decision. Go when conditions stay above your limits for the full route. Delay when the trend may improve and you have a safe time window. Cancel when storms, low ceilings, poor visibility, strong winds, or widespread uncertainty leave you with no good exit.
Plan alternates before departure. Pick at least one airport you can reach if the destination closes or weather worsens. Record its runway, fuel status if known, pattern information, and likely route. Ask yourself where you would turn if you became uncomfortable halfway through the trip.
Don’t wait until you’re lost or low on fuel to make that decision. A diversion is a normal part of sound pilot judgment.
For student pilots, an instructor endorsement and the required training records also belong in the planning file. Review the applicable student pilot rules with your instructor before the flight.
By now you should have a weather picture, written personal minimums, a clear go or no-go decision, and at least one diversion option.
Step 3: Calculate Fuel, Aircraft Performance, and Weight and Balance
Fuel and performance numbers turn a route into a safe flight plan. Start with the aircraft’s current POH, or Pilot’s Operating Handbook. Use the book for that specific aircraft, not a similar model parked nearby.
Calculate fuel for the full trip. Include taxi fuel, climb fuel, cruise fuel, descent fuel, approach fuel, and the required reserve. Add fuel for a diversion when the route or weather makes one likely. The exact reserve requirement depends on the operation and flight rules, so confirm it with your instructor and the current regulations.
Write the fuel plan in gallons and time. For example, if the aircraft burns 10 gallons per hour and your planned airborne time is 1.8 hours, cruise fuel alone is not the whole answer. Climb and taxi may use more. Winds may increase time. A reserve protects you from those changes, but it doesn’t excuse poor monitoring.
Check fuel quantity before start. Compare the gauge with the amount you expect from the fuel receipt, dipstick, or approved aircraft method. During flight, compare actual burn with the navigation log at each checkpoint. If the numbers don’t match, stop and reassess.
Complete weight and balance with the aircraft’s empty weight and current loading data. Enter pilot weight, passenger weight, baggage, and fuel. Make sure the total stays within maximum gross weight. Then check the center of gravity range.
Weight changes performance. A heavy aircraft needs more runway and may climb more slowly. A rearward center of gravity can affect stability and control. Use the POH charts for takeoff distance, landing distance, climb rate, and cruise performance.
Airport elevation, runway slope, wind, temperature, and aircraft weight all affect performance. Pressure altitude matters too. It comes from field elevation adjusted for the current altimeter setting. On a hot day at a high-elevation airport, density altitude can be much higher than field elevation. The engine, propeller, and wings then perform as if the aircraft were at a higher airport.
Review runway length at both the departure and destination airports. Add a safety margin based on the POH data and your comfort level. A runway that works on a cool morning may not work after a warm afternoon departure with two passengers.
Our guide to Cessna 172 specs and performance numbers explains how to read weight, fuel, useful load, and performance data without treating a sample number as a promise for every aircraft.
At Axiom Aviation, we use the aircraft’s actual records during planning. That habit helps students see why a published number is only useful when the aircraft, load, runway, and weather match.
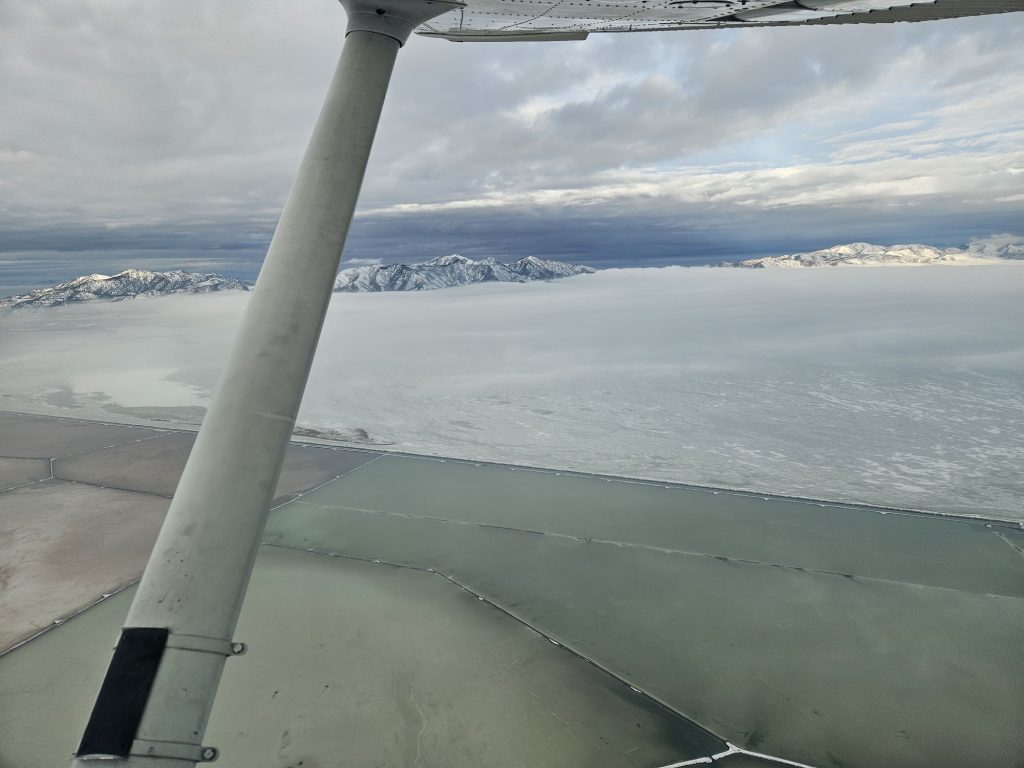
Stop the plan if the aircraft is overweight, outside its center of gravity range, or unable to meet the runway and climb numbers. Fix the load or pick a different day.
Step 4: Build the Navigation Log With Paper or Electronic Tools
A navigation log turns cross country flight planning into a set of checks you can use in the air. Treat it as your flight’s playbook, not as a form you fill out for an instructor.
Start one row for each leg. Include the departure airport, top of climb, each visual checkpoint, top of descent, and destination. Add an alternate on a separate line so you can see the diversion distance and fuel need.
For a paper log, use a sectional chart, plotter, pencil, E6B flight computer, and POH. Measure the true course with the plotter. Measure each leg’s distance. Use wind information to calculate wind correction angle, magnetic heading, groundspeed, and estimated time en route.
The E6B helps you solve the wind triangle. Set the true course. Apply wind direction and speed. Then enter true airspeed. The result gives you a corrected heading and expected groundspeed. Add magnetic variation, then apply the aircraft’s compass correction card for the heading you will fly.
Electronic apps can speed up this work, but they can’t fix bad aircraft data. Build the aircraft profile with the exact model and current performance figures. Enter climb, cruise, descent, fuel burn, and weight data from the aircraft manual. Confirm the selected cruise altitude and departure time so the app uses the right wind forecast.
Keep the paper chart and a written backup even when you plan on a tablet. Batteries fail. Screens freeze. A backup lets you keep flying the plan while you solve the device problem.
Use the log to set checkpoints for time and fuel. If the first checkpoint should take 12 minutes but takes 18, don’t ignore it. Check your heading, wind, altitude, and fuel burn. A small error found early is easier to fix.
For early training, consider hiding the moving map after you understand the route. Fly by heading and outside visual references while your instructor watches. The goal is to build pilotage, which means using visible ground references, and dead reckoning, which means using heading, time, speed, and distance.
Mark frequencies beside the leg where you’ll need them. Write the destination frequency before the descent. Note the expected traffic pattern and the point where you will switch from en route communication to airport traffic calls.
Save a clean copy of the final log. Cross out old headings and fuel figures. One clear line is better than three guesses written on top of each other.
By now you should have leg distances, headings, groundspeeds, times, fuel figures, frequencies, altitudes, and a diversion line.
Step 5: File the Flight Plan, Request Flight Following, and Run the Final Checklist
Finish your cross country flight planning with the paperwork and communication plan. A VFR flight plan is not an ATC clearance. It gives the flight service system a record to use if you fail to close it, but someone must open and close it through the approved process.
File the VFR plan with the correct aircraft identification, departure point, route, destination, estimated time, fuel endurance, airspeed, altitude, and people aboard. Give yourself time to open it before takeoff. Close it after landing. If you change the destination, make sure the flight plan record matches the new plan.
Flight following is separate from a VFR flight plan. It is an ATC service that can provide traffic information and advisories when workload allows. After departure, contact the correct approach or departure frequency. State your aircraft identification, position, altitude, destination, route, and request for flight following.
Use the frequency you found during airport research. If you can’t make contact, keep flying the aircraft and try again when workload and coverage permit. Flight following doesn’t remove your duty to see and avoid traffic. It also doesn’t grant entry into Class B airspace. You still need the required clearance.
Ask ATC early when your route approaches controlled airspace. Read back instructions. Write down a new heading or altitude. If a controller gives you a route that conflicts with your fuel, weather, or personal minimums, say so and ask for help.
Before engine start, run a final planning check:
- Confirm the aircraft documents, inspection status, fuel, oil, and required equipment.
- Compare the current weather with the briefing you used.
- Check NOTAMs, TFRs, runway status, and known ATC delays.
- Confirm weight and balance, takeoff distance, landing distance, and climb performance.
- Set the planned altimeter setting and verify the selected cruising altitude.
- Load the navigation log and chart where you can reach them without losing outside focus.
- Tell a trusted person the route, destination, aircraft, and expected return.
During the flight, use the plan as a starting point. Compare actual time, fuel, weather, and position at every checkpoint. If the plan stops matching the day, change the plan. Turning around early is a sound pilot choice.
We include this kind of repeatable planning in Axiom Aviation Flight Training because students need more than a passing checkride skill. They need habits that support a safe launch into airline-focused training and later work as professional pilots.
If a cross-country trip includes fuel stops, lodging, or other costs, keep those estimates with the flight file. A service such as accounting tools may help an independent instructor or aviation business keep expense records organized alongside the planning work.
Make the final decision at the aircraft, with current information in front of you. If any key answer is missing, pause before you depart.
Cross-Country Flight Planning FAQ
What counts as a cross-country flight for a student pilot?
A student pilot cross-country flight normally includes a landing at a point more than 50 nautical miles from the original departure point for common private pilot training. The exact credit depends on the certificate, operation, and training task. Review the flight with your instructor and check the student pilot requirements before logging it.
How far apart should VFR checkpoints be?
VFR checkpoints are often spaced about 10 to 20 nautical miles apart, with closer points when terrain or airspace makes them useful. Pick landmarks you can see from the air, such as a large lake or highway bridge. Keep them near the course line so they help position checks without adding needless turns.
What weather should I check before a cross-country flight?
Check METARs, TAFs, winds aloft, radar, satellite information, NOTAMs, and TFRs for the full route. Compare the forecast with your personal limits for ceiling, visibility, wind, gusts, turbulence, and storms. Review the destination and possible alternates too, because a safe departure does not guarantee a safe arrival.
How much fuel should I plan for a VFR cross-country?
Plan fuel for taxi, climb, cruise, descent, approach, required reserve, and a possible diversion. Use the POH fuel burn figures for the aircraft and altitude you expect to fly. Recheck the plan when wind, temperature, route, or aircraft loading changes. In flight, compare actual fuel use with the navigation log at each checkpoint.
Is flight following required for a VFR cross-country flight?
Flight following is generally not required for a VFR cross-country flight, but it can add traffic information and help during an emergency. Request it from the appropriate ATC facility after departure. Keep watching for traffic, follow airspace rules, and remember that flight following does not replace a Class B clearance when one is required.
Should I use a paper navigation log or an electronic app?
Use both when you’re learning. Paper planning with a sectional, plotter, and E6B shows how course, wind, speed, and time connect. An electronic app can reduce calculation time when its aircraft profile and weather data are correct. Keep a paper chart and backup figures available because electronic devices can fail.
Use a current chart, the aircraft’s own performance data, and a written backup for every longer VFR trip. If you want an instructor-led way to begin your aviation journey, review Axiom Aviation’s training options, then build your next plan with an instructor before you launch.