
An instrument rating lets a qualified pilot fly under Instrument Flight Rules when clouds or poor visibility block outside reference. But the path has more checkpoints than the 40-hour headline suggests. Here are the six steps to earn an airplane IFR rating, plus the records you need at each stage.
Step 1: Confirm You Meet the Eligibility Requirements
Before you plan flights or book a test, confirm that you qualify for the rating you want. For an airplane instrument rating, you need at least a current private pilot certificate with an airplane category and class rating, or you may apply for the private certificate and instrument rating together.
You also need enough English skill to read, speak, write, and understand aviation communication. Your medical certificate must stay current for the pilot privileges you plan to use. There isn’t a separate medical certificate issued only for the instrument rating, but an existing certificate still matters.
The requirements also include logged ground training, flight training with an authorized instructor, and endorsements for both major tests. The instructor must confirm that you’re ready for the knowledge test before you take it. Later, the instructor must confirm that you’re ready for the practical test.
Read the current instrument-rating requirements in the eCFR.
Gather these items before training begins:
- Your pilot certificate and government identification.
- A current FAA medical certificate, when required for your planned operation.
- Your pilot logbook or approved electronic logbook.
- Training records from your instructor or flight school.
- Proof of the knowledge test and the required instructor endorsements.
Axiom Aviation can help you map the rating onto your larger career plan. That matters if your next goal is commercial training, because the way you log cross-country and instrument time can affect later training.
Step 2: Pass the Instrument Rating Knowledge Test
Passing the FAA instrument rating knowledge test is a required part of how to get an IFR rating. The airplane exam is commonly called the IRA test. Research material for this topic describes it as a 60-question exam with a two-hour limit and a 70 percent passing score.
Don’t treat the written test as a box to check. It covers the decisions you’ll make in the cockpit. Expect study areas such as IFR regulations, official aviation information resources, air traffic control procedures, navigation systems, approach charts, weather reports, wind shear, aeronautical decision-making, and crew resource management.
Start with a ground school plan. Read each topic, then work through practice questions. When you miss one, write down why the answer is right. A missed question about an approach plate may point to a chart-reading gap, while a missed weather question may show that you need more work with forecasts.
Use a current study source and check that it matches the present FAA test structure. Practice scores should be steady before you schedule the exam. One good score on a practice quiz isn’t enough if the result came from memorizing the question order.
Your authorized instructor must endorse you for the knowledge test unless another accepted training path applies. Bring the required identification and test authorization to the testing center. After you pass, keep the result with your training records. You’ll need it during the application process.
Ground study should continue after the written test. During flight lessons, connect each rule to a cockpit task. For example, don’t only memorize holding entries. Explain how the clearance, wind, heading, and chart affect the entry you choose.
By now you should have a passing knowledge test result, a logbook endorsement, and a study plan that supports flight work. The written exam gets you ready to train. It doesn’t prove that you can manage an IFR flight.
Step 3: Build and Document the Required Flight Experience
Flight-hour planning is where many pilots get confused. For the standard Part 61 flight training airplane path, you need 50 hours of pilot-in-command cross-country time, with at least 10 of those hours in an airplane. You also need 40 hours of actual or simulated instrument time.
At least 15 of those instrument hours must come from an authorized instructor who holds the right instrument rating. The 40-hour total can include approved simulator or flight training device time when the device and training meet the applicable rules. Ask your instructor to confirm what can be credited before you book simulator sessions.
Keep separate running totals. A flight can count toward more than one goal, but the logbook still needs to show what happened. Track instrument time, instructor time, cross-country PIC time, airplane time, and the specific approaches or procedures completed.
| Logbook item | Minimum to plan for | What to verify |
|---|---|---|
| Instrument time | 40 hours | Mark each entry as actual, simulated, or approved device time. |
| Instrument instruction | 15 hours within the instrument total | Confirm the instructor holds the proper instrument rating. |
| Cross-country PIC time | 50 hours | At least 10 hours must be in an airplane. |
| Recent airplane instrument training | 3 hours within the 2 calendar months before the practical test | Schedule this close to the checkride. |
| Required long cross-country | 250 nautical miles | Keep the flight plan and clear logbook details. |
A weekly logbook review can prevent a costly surprise. Sit with your instructor after each group of flights and compare your totals with the applicable requirements.
Axiom Aviation’s training team can help you fit instrument work into a broader pilot plan. Its high-fidelity simulators may help you practice procedures in a controlled setting, but your instructor must confirm which device time counts for your case.

Don’t chase the minimum alone. A pilot may meet a number and still need more practice before the instructor can endorse the practical test. Skill, not the smallest total, should set your final schedule.
Step 4: Complete Instrument Training With an Instructor
Instrument training turns the hour plan into usable skill. Work with an authorized instrument instructor who can teach you to control the aircraft by reference to instruments while managing the route, clearance, radios, and weather.
Early lessons often focus on attitude control and instrument scan. You learn to hold a heading, altitude, and airspeed without relying on the outside view. Later lessons add navigation systems, departures, arrivals, holds, approaches, missed approaches, emergencies, and postflight review.
Ask your instructor to explain the goal of each lesson before engine start. If the lesson covers an ILS approach, for example, review the plate, frequencies, minimums, missed approach, and likely ATC instructions first. That leaves more cockpit time for the skill itself.
Simulator work can help with procedures that are hard to repeat in an aircraft. You can pause a scenario, reset an approach, or repeat a hold without spending fuel on setup. Still, simulator time should support aircraft training rather than replace sound judgment about weather, workload, and aircraft limits.
Axiom Aviation uses modern training technology alongside instructor-led flight work. That combination can give you more chances to rehearse a procedure before you perform it in the aircraft. We still expect pilots to understand the reason behind each action, not repeat a motion by memory.
Use each postflight review to write down one error and one fix. Maybe you chased altitude during a scan break. Maybe you missed a radio call while setting up the approach. Small notes make the next lesson more focused.
By the end of this step, you should be able to explain your route and approach plan before takeoff. You should also handle the aircraft while following clearances without constant prompting.
Step 5: Fly the Required 250-Nautical-Mile Instrument Cross-Country
The required cross-country flight is a specific experience, not a normal trip that happens to exceed 250 nautical miles. For an airplane rating, it must be flown under IFR with a filed flight plan. The route must cover at least 250 nautical miles along airways or a directed route from ATC.
You must complete an instrument approach at each airport used for the requirement. The flight must also include three different kinds of approaches using navigation systems. Your instructor can help choose a route that gives you enough distance and suitable approaches without forcing a rushed schedule.
Plan the flight on paper before you open the aircraft’s navigation system. Mark the route distance, fuel stops if needed, expected clearances, approach types, alternate plans, and missed approach procedures. Weather may change the plan, so build a legal and safe backup route.
Log the flight in enough detail for another pilot to understand it later. Record the airports, route, approaches, conditions, instructor name, and whether the flight stayed under IFR. Keep the filed flight plan or other supporting records with your logbook materials.
Interpretation questions can come up when a pilot changes part of the route or returns under VFR. Because an examiner may review the details, discuss any unusual plan with your instructor before the flight. If the flight doesn’t clearly meet the rule, plan another one rather than argue about a weak record on checkride day.
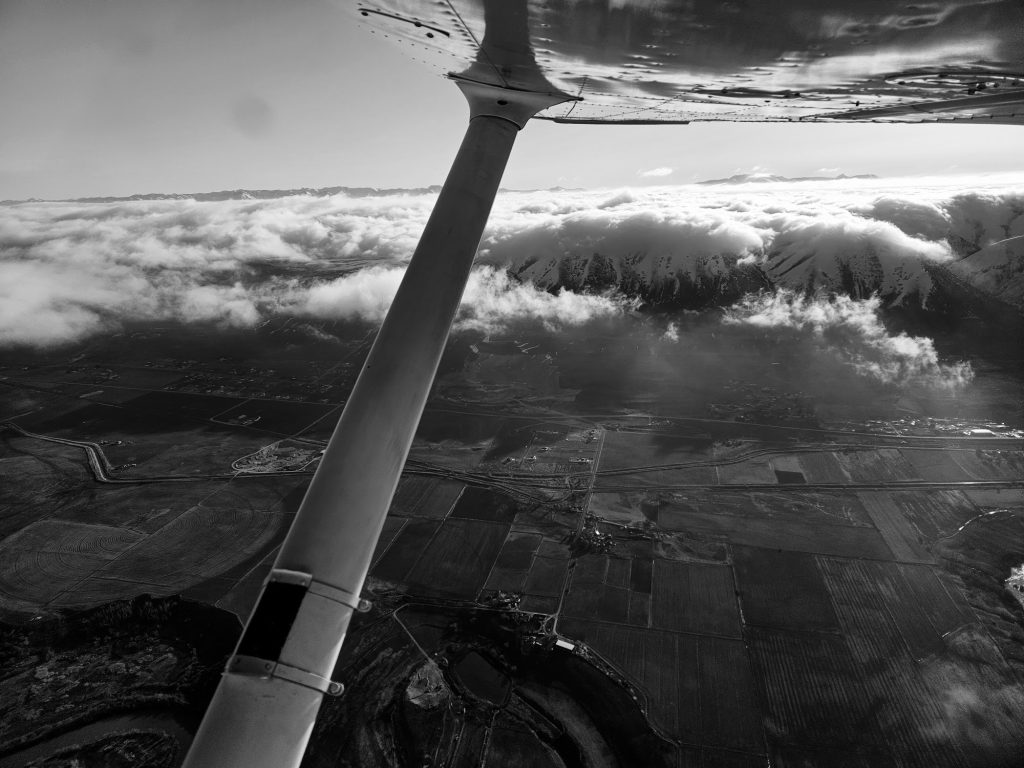
This flight tests planning as much as control. You must manage fuel, route changes, radio work, approach setup, and workload while staying ahead of the airplane.
Step 6: Prepare for and Pass the Instrument Rating Checkride
The checkride is the final step in how to get an IFR rating. It has an oral portion and a flight portion with a Designated Pilot Examiner, or DPE. Your instructor must endorse you for the practical test before you take it.
Prepare from the applicable instrument-rating practical-test standards. Your instructor should run a mock oral that covers regulations, weather, charts, systems, risk management, and decision-making. Don’t memorize short answers without understanding the situation behind them. The examiner may change the weather, route, aircraft issue, or clearance and ask what you would do.
For the flight portion, practice the full flow rather than isolated maneuvers. Start with preflight planning. Then move through clearances, departures, unusual situations, en route work, holds, approaches, missed approaches, and postflight tasks.
Before scheduling, verify your paperwork:
- Knowledge test report.
- Current medical certificate when required.
- Logbook with the required experience.
- Recent three-hour instrument training within the required window.
- Instructor endorsement for the practical test.
- Aircraft or approved training device records required for the test.
Rest before the checkride and arrive with a clear plan. If weather, maintenance, or fatigue makes the flight unsafe, speak up. A delayed test is easier to fix than a rushed decision that creates a training setback.
After you pass, review the temporary certificate and understand any limits attached to it. Keep flying with a qualified instructor if you need more experience before using the rating in demanding conditions. The checkride shows that you meet the standard. It doesn’t end your learning.
FAQ
How many hours do you need to get an IFR rating?
You need at least 40 hours of actual or simulated instrument time for the standard Part 61 airplane path. At least 15 of those hours must be with an authorized instrument instructor. You also need 50 hours of pilot-in-command cross-country time, including at least 10 hours in an airplane, plus the other required flight and test items.
Can you use a simulator for an instrument rating?
Yes, approved simulator or flight training device time may count toward instrument experience when it meets FAA rules. The device must be suitable for the training task, and your instructor must log the session correctly. Ask the school what approval applies before assuming every simulator hour will satisfy your required total.
How long does it take to get an instrument rating?
Full-time students often plan for about two to three months, but the actual time depends on weather, aircraft access, instructor availability, and your starting logbook totals. Part-time training can take longer. A steady schedule usually works better than long gaps between lessons because instrument skills fade when practice stops.
How much does an IFR rating cost?
An IFR rating often requires a budget in the range of $10,000 to $17,000, but your total may differ. Aircraft rental, instructor time, simulator use, ground training, testing, and repeat lessons all affect the final amount. For broader budgeting context, review how much it costs to become a pilot, then ask for a written estimate that states what is included and how extra training is billed.
Do you need a private pilot license before an instrument rating?
Yes, you generally need a current private pilot certificate with the proper aircraft category and class, or you can apply for the private certificate and instrument rating together. The instrument rating attaches to a pilot certificate. It isn’t a separate standalone license.
Conclusion
Start by checking your certificate, medical status, and logbook with an authorized instructor. Then choose a school that tracks every requirement clearly, including simulator credit and recent training. Axiom Aviation can help you begin your aviation journey with a structured plan, so request an instrument-training review before booking your first lesson.